

Posts Tagged: containers
Clever Containers
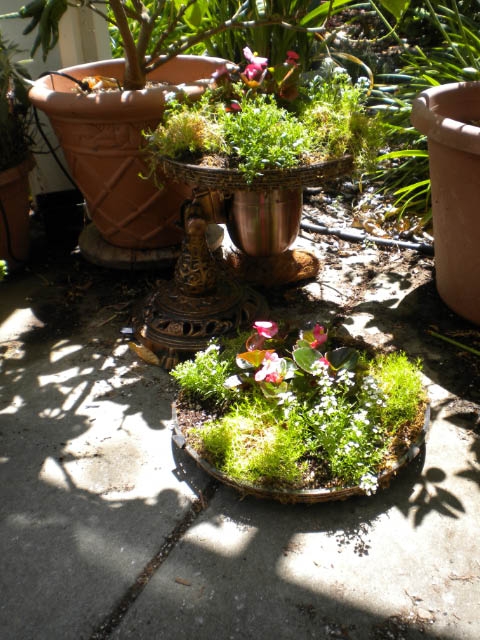
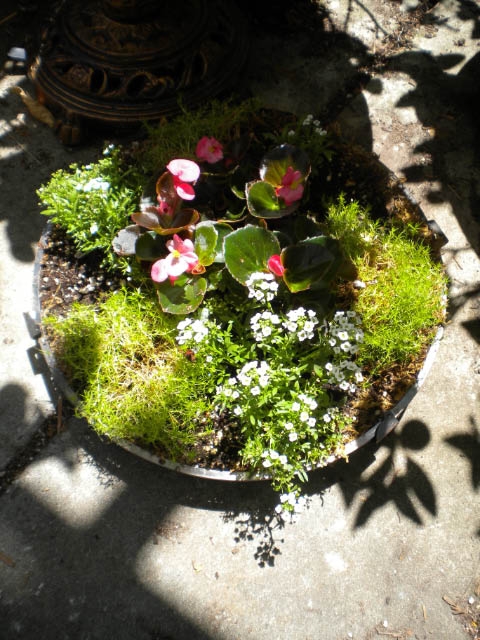
I have been inspired by all the clever containers I have seen other Master Gardeners use to plant in. So when our decorative table fan bit the dust, I was loathe to toss it. I liked the color and the faux carving on the base. My husband kindly snapped it so the fan portion would lie flat. He removed the heavy motor and snipped the electrical cord.I took the fan cage apart and removed the fan blades. I layered moss in both sides of the fan cage then put in the soil and started planting. The planting space was quite shallow so I tried to choose small plants. I found some small begonias for the center then surrounded them with alyssum and scotch moss, Sagina subulata. They are doing well so far on my back patio which is protected with shade cloth.
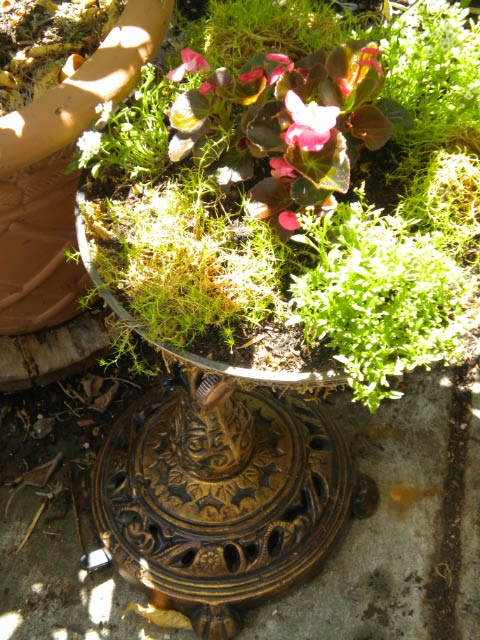
Planted fan. (photos by Karen Metz)
DSCN2810
DSCN2811
Potatoes are Easy and Fun to Grow in Containers
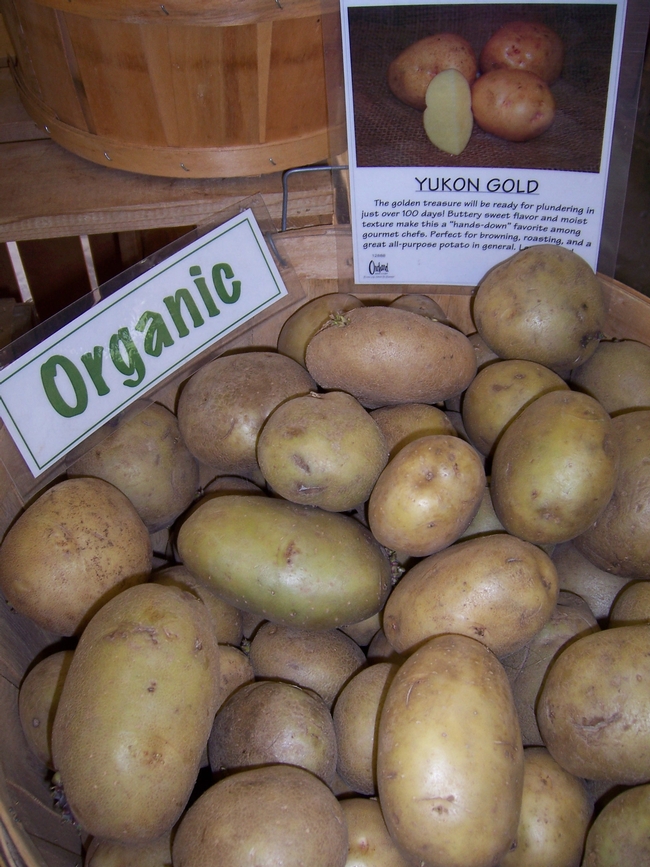
February and March are the months to grow potatoes in the Bay Area. Local nurseries carry a good supply of certified disease-free fingerlings and large seed potatoes. Many of the varieties can only be enjoyed by the home gardener as grocery stores do not carry them. Speaking of which, never grow potatoes from the grocery store as they have been treated with a sprouting retardant and the results are disappointing.
To save space in your garden, try growing potatoes in a container. It should be at least 15 gallons and about 24” tall. It can be a metal or plastic garbage can with drain holes, a terracotta pot or a commercially produced heavy duty fabric or plastic potato bag. Let your imagination run wild!
There are many benefits to container grown potatoes and one is that you don’t have to worry about crop rotation or soil-born pests and diseases because they will not be grown in garden soil. Plus they are easier to harvest.
Planting: To prepare the larger seed potatoes for planting, cut them in half or thirds leaving two eyes per piece. Now leave the pieces, cut side up to air day on a tray for about 24 hours or overnight. Small fingerling potatoes can be planted whole. There are different theories on how many seeds to plant in a container and I have read you can layer them in lasagna style. In a 15 gallon container I would plant three or four fingerling potatoes or large seed potatoes cut into three or four pieces.
Start with a layer of 3” to 4” of good potting soil in the bottom of the container mixed with a couple handfuls of an organic starter fertilizer. Nestle the potatoes into the soil, cover with a couple more inches of soil and tamp down gently. Water well and wait for the green leafy sprouts to push up through the soil. If you are using the lasagna style now is the time to nestle another three or four seed potatoes amongst the plants and add more soil. As the plants grow, add soil around them, leaving only about 3” of plant showing. This is called “hilling”. You can also use straw, hay, partially composted leaves, or regular compost for hilling.
Potatoes are formed above, not below the seed potatoes. Each time you add the ‘hilling” material, mix in a handful of organic vegetable fertilizer to keep them well fed. Keep on hilling until the soil or other material is a couple inches below the top of the container. Don’t over fill it because you need room at the top to add enough water to thoroughly saturate the container.
Water and Fertilize: Keep your potatoes well watered once or twice a week depending on the weather and after you have finished adding soil or straw or other hilling material and the green shoots are at the top, fertilize once a month with an organic vegetable fertilizer. Potatoes need a steady supply of nutrients and the frequent watering in our warm climate washes the fertilizers through the container which is true of most all potted plants.
Harvesting: “New” potatoes can be harvested soon after the plant starts flowering, but you must be careful when you peek or harvest to not damage the plants. Mature potatoes are harvested after the plant tops die down. Always make sure the potatoes are covered with soil or other material or they will turn green. Green potatoes are mildly toxic and should not be eaten. Store your potatoes in the dark at about 40 degrees.
The experience of harvesting your own potatoes is like digging for treasure and once you grow your own you will always want to include them in your garden.
bulk potatos
Growing in Miniature
Terrariums have always fascinated me, especially when they contain tiny buildings, oriental bridges, driftwood, unusual rocks AND plants. I also have a fondness for Wardian cases, that were popular during Victorian days, displaying unusual plants, moss, and often small reptiles. They originally were built to transport plant specimens from Europe and Asia to the U.S., or other locations. The moist enclosed containers would maintain the plants for some time, until they reached their destination.
Part of the fun is the hunt for tiny, small plants that will fit your glass container and any tiny decorative accessory to add to the plants. Ferns, succulents, violets, orchids and air plants work well as the living part of your miniature “home”, and small pieces of bark, rocks or a bird nest, along with tiny ceramic insects, reptiles or figurines will complete your miniature world.
During the holidays I purchased some large plastic, clear ornaments (4x4x1), at a craft store. What fun it was to plant them with moss, succulents, air plants and carefully embellish them with driftwood and rocks. These miniature growing globes were fun to create and give as gifts. They will last for years with only minimum attention and an occasional sprinkling of water.
We all desire to connect with nature and to nurture living things, especially during winter months when it’s difficult to be out in the garden. Consider creating your own terrarium or miniature garden. You will find great resource books in our local libraries.
Succulents in Containers
After attending a session on succulent container gardening at UC Davis, I decided to try it. This is my first attempt. When I purchased the succulents, I thought it would be too crowded in the planter but there is space. As they grow, I think it will fill it, but if not I plan to add some other succulents.
There are many kinds of succulents and I just got a few different ones. They have shallow roots so I put rocks in the bottom of my planter. Then I used packaged soil designed for succulents or cactus mix. It is more porous that the usual potting mix and helps retain water for longer periods. This one is located at the entrance to our gazebo and gets morning and early afternoon sun then some shade. It seems to be doing well. I water it about every two weeks slowly with at least a quart of water. But if I forget they are very forgiving. This winter I will move them to a sheltered area when frost is in the forecast.
You might want to try this type of gardening. There are so many different and variety of plants that it is fun to select a interesting combination for your container. And it doesn’t require a lot of care or frequent fertilizing.
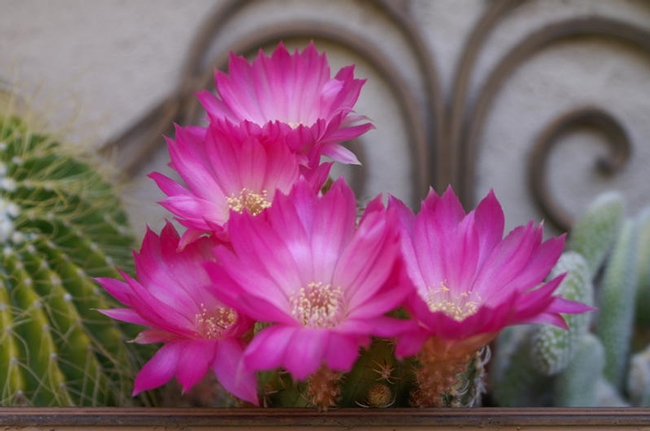
Cacti in a wall container (Photo by Emily Rued)
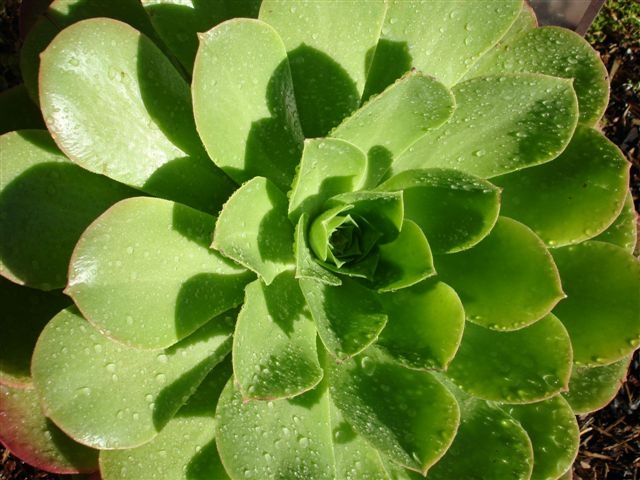
Echeverria spp. (Photo by Marsha Lucas)
