

Posts Tagged: backyard
Backyard chickens ruling the roost in Bay Area

The story was centered in Hayward, a community that is the latest to deal with local interest in very small-scale poultry husbandry. San Jose, Oakland, Berkeley and San Francisco do not require a permit or fee. Some communities require permits to slaughter animals for food. In Palo Alto, chicken permits are $60.
Parr spoke to UC Agriculture and Natural Resources poultry expert Maurice Pitesky about the growing trend of backyard chicken ownership.
"It's part of a general trend toward local food," said Pitesky, who is a UC ANR Cooperative Extension specialist based at UC Davis. "People read things in the media and feel they might be able to have more control and safer food if they're growing it themselves. It's a growing trend in urban areas, and poultry are relatively easy type of food animal to raise."
The article provided a link to the UC Cooperative Extension Poultry website, which includes information for backyard poultry, small-scale production and commercial production.
How to Attract Bees, Butterflies and Birds: CCUH Workshop at UC Davis
So you want to create a sustainable landscape in your backyard. You want to create a living landscape that attracts bees, butterflies and birds. You...

The lacewing is a beneficial insect in the garden. (Photo by Kathy Keatley Garvey)
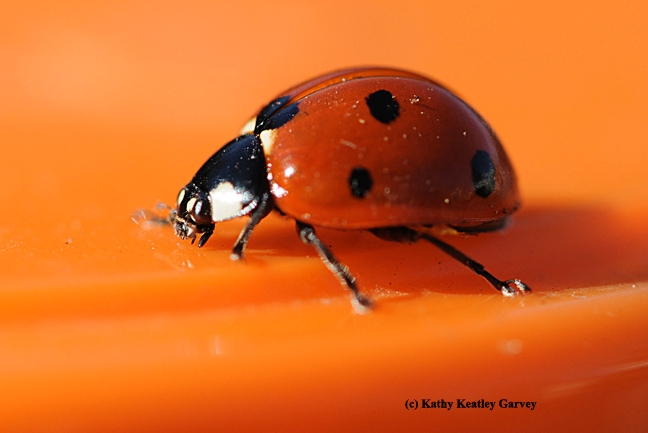
A lady beetle, aka ladybug, will eat aphids and other soft-bodied insects in your garden. (Photo by Kathy Keatley Garvey)
Homegrown/Backyard Oyster Mushroom Cultivation
I recently attended a 4-hour workshop on homegrown/backyard mushroom cultivation organized by Biofuel Oasis in Berkeley, California. Patty and Ray Lanier of Mushroom Maestros located in both Oakland and in Lake County, California, were the featured speakers of this seminar.
The workshop began with a Powerpoint presentation on a brief history and folklore of the mushroom, the life cycle of a mushroom, and how mushrooms play a part in our ecological system. After the Powerpoint presentation, Patty and Ray led the group through some hands-on projects, which is the focus of this blog entry.
I was surprised to learn how easy it was/is to cultivate some varieties of mushrooms at home, specifically, the oyster mushroom and wine cap mushroom (king stropharia). Below are instructions on how to cultivate oyster mushrooms at home. Cultivating wine cap mushrooms is even easier and will be discussed in one of my upcoming blog entries.
Oyster Mushroom
Oyster mushrooms are aggressive and eager to grow.
Materials needed:
1. Large pot (e.g., a canning pot)
2. Large colander
3. Large mesh bag (e.g, an onion bag from the supermarket)
4. 1 bag of mushroom innoculent (can be bought on-line)
5. 1 cylindrical plastic bag (e.g., the plastic bags that newspapers come in or a large plastic bread bag)
6. 1 bag/jar of mushroom grain spawn (can be purchased easily on-line)
Step 1: Pasteurize (not sterilize) clean wheat straw (note: not hay, but straw) which you can purchase inexpensively from a well-stocked feed store, in 150 - 180 F degree heat for 45 - 60 minutes. It may help to place the wheat straw in a mesh bag like an onion bag, to keep the straw together.
Step 2: After you have pasteurized the straw, let it dry by placing it in a colander.
Step 3: Sterilize all work surfaces, tools, your hands, etc., with rubbing alcohol. Empty the mesh bag of its straw contents and spread the straw (straw should be warm to the touch) onto a sterilized surface so that so that the straw layer is 2-3 inches thick.
Step 4: Take handfuls of the mushroom grain spawn and toss it onto the straw until the grains dot the surface of the straw. Work the grain spawn into the straw.
Step 5: Stuff the straw into your cylindrical plastic bag, compressing the straw enough so that the bag is firmly (but not overly) packed. Tie the bag off.
Step 6: Take a nail or a sharp pair of scissors and pierce the bag, making random 1-inch cuts all over the bag, but not to the point where the straw begins to fall out. This is to aerate the bag while keeping a moist environment for the spawn. Wipe the bag down with alcohol to keep it sterile.
Step 7: Place the bag in a shady area indoors (i.e., does not receive direct sunlight) in an area where the temperature is kept between 60 – 75 degrees. Keep the bag moist but not damp, by spraying with a spray bottle filled with water. You should see signs of oyster mushrooms in 2 weeks (the log will turn white), at which time, you can either keep the bag indoors or locate it in a shady part of your yard, protected from the wind and sun and heat. When the caps of mushrooms flatten out, it is time to harvest. Don't wait too long, as the mushrooms can grow past its prime in just 1 day.
For more information on either Biofuel Oasis or Mushroom Maestros, please see www.biofueloasis.com and http://www.mushroommaestros.com/, respectively.
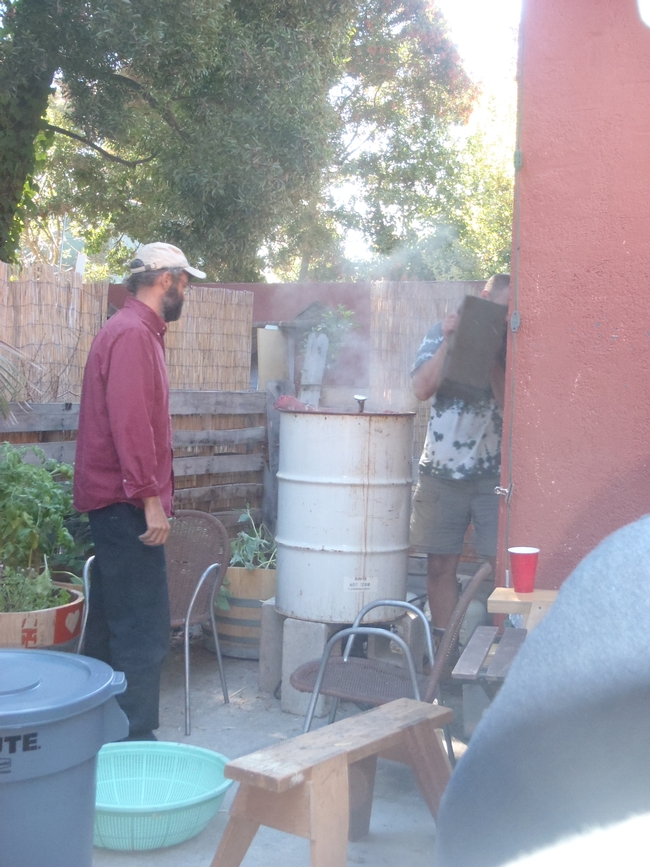
Pasteurizing straw. (photos by Betty Homer)
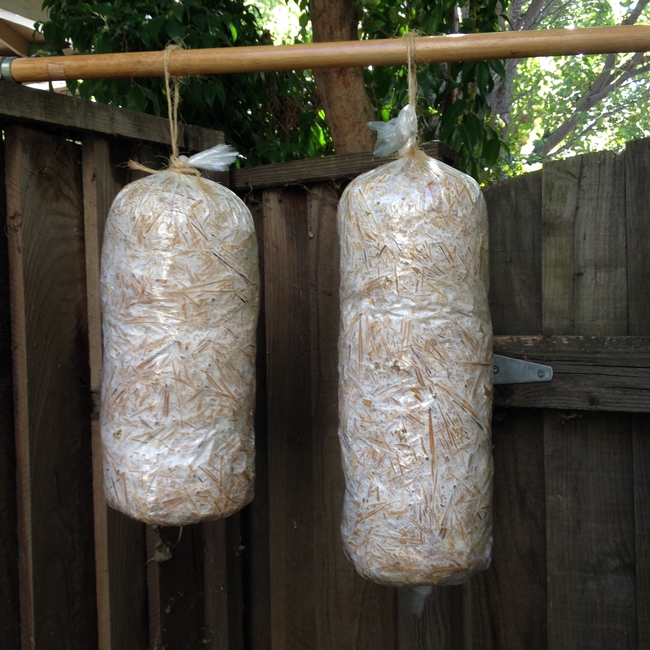
Mushroom logs hung outside after being indoors for 2 weeks.
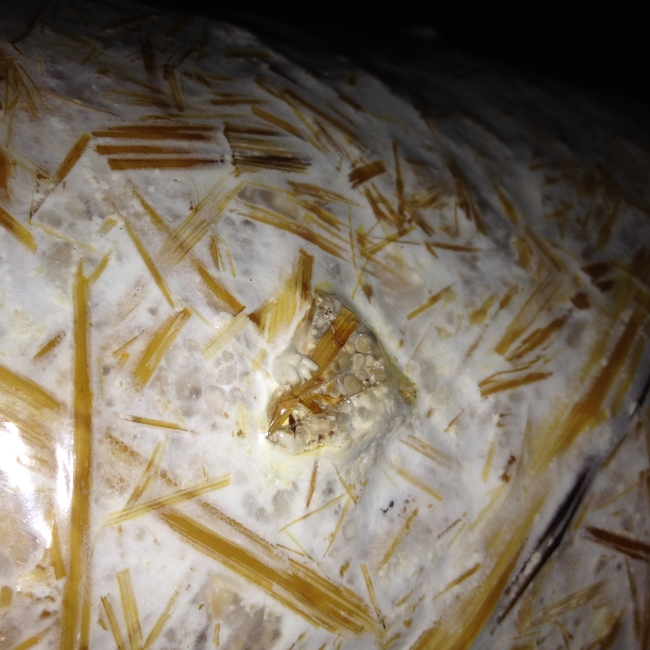
Oyster mushrooms peeping out.
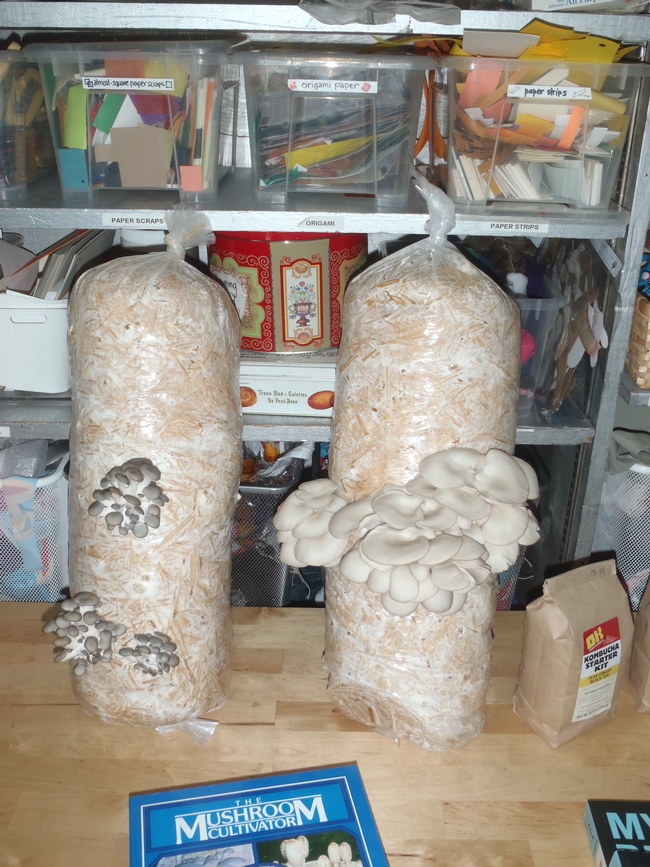
Oyster mushrooms ready to harvest.
Inexpensive Tricks Of The TradeFor Use In Your Own Backyard Homestead
As a budding farmer in Solano County, I frequently attend farm tours to learn new methods for growing edible plants/vegetables and raising livestock. Last week, I had the privilege of attending a lecture presented by Chris Hay of Say Hay Farms. Chris is a thoughtful, conscientious, and entrepreneurial young grower who owns and operates an 8-acre certified organic farm in Woodland, California--just a hop, skip and jump from Solano County. Chris grows diversified vegetables as well as raises pastured chickens for eggs.
I love attending farm tours because each time I have attended one, I learn about a new method of growing, a new trick/technique of the trade, or alternatively, what mistakes not to make in setting up a farm or garden. As relevant to people interested in gardening in particular, one new trick that I learned from visiting Chris’ farm, is the use of table top greenhouses to begin his starts (unfortunately, I have pictures of everything else but these greenhouses, so I’ll do my best to describe them to you). It is a simple device. Chris creates a small tent (think small picnic tent to keep flies off of food), using plastic and PVC piping, and places it over a black plastic seedling tray you would commonly see in seed catalogs. Essentially, it is a tabletop hoop house for his seedlings and looks to be very inexpensive to make. Chris keeps these outdoors during the summer. Chris says that it is effective and has saved him lots of money to start seeds in this manner rather than purchasing seedlings.
As most of you know, backyard chickens are all the rage. Another tip that I learned from visiting Chris’ farm that you can apply to your own backyard chicken coop, is painting a farm white wash on the interior walls of your chicken coop/house to reduce or prevent mites (a chicken parasite that is very difficult to get rid of). There are various recipes for farm white wash which you can google, all of which are usually inexpensive, but in general, it consists of some combination of lime, salt, alum, molasses, sodium chloride and water. Chris said that the white wash flakes off annually, so he has to repaint the inside of his chicken coops every year; however, he has never had any issue with mites as a result of using the white wash (and keeping the coop clean and dry and adding food-grade safe diatomaceous earth) and he raises approximately 500 chickens.
So there you have it—tips from the professionals that you can incorporate on a small scale into your own backyard that are both inexpensive and effective.
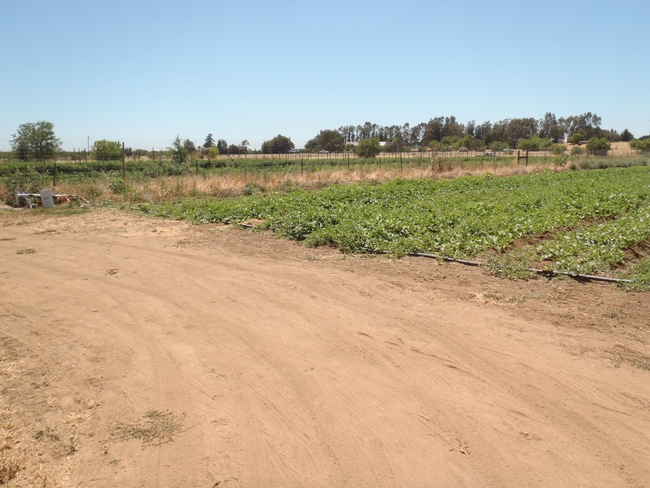
Chris' farm. (photos by Betty Homer)
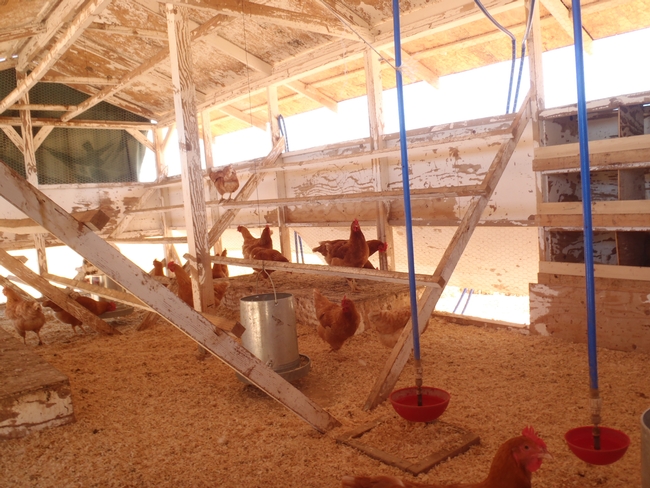
Inside the chicken coop.
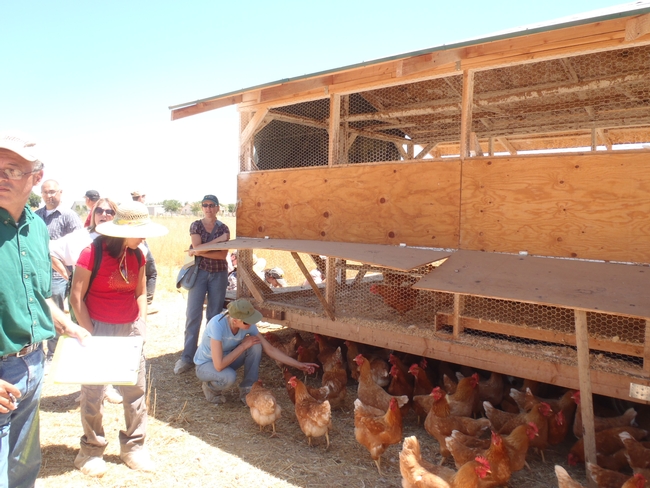
Outside the coop.
Be a Beekeeper, Not a Bee-Haver
If you're planning to join the ranks of backyard beekeepers in 2012, you should keep a few things in mind, says Extension apiculturist Eric...
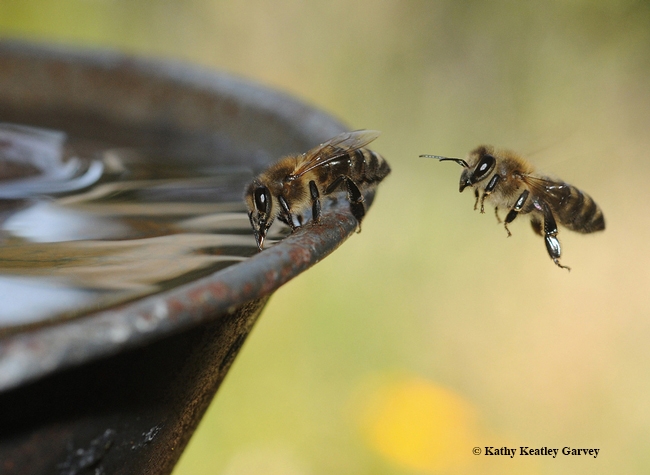
Backyard beekeepers must provide water for their bees or they will visit a neighboring yard, where they may not be welcome. (Photo by Kathy Keatley Garvey)
