

Homegrown/Backyard Oyster Mushroom Cultivation-Part II
Last month, I blogged about cultivating oyster mushrooms in the backyard by inoculating a cylindrical plastic bag containing straw, with mushroom spawn. I am happy to report that my mushroom log project was a success and have enjoyed literally, the fruits of my labor.
This month, I will be discussing another simple method of cultivating culinary mushrooms in your backyard. The variety that I am currently experimenting with is Stropharia rugosoannulata, commonly known as the wine cap mushroom. Although creating the substrate and environment to grow wine cap mushrooms is fairly simple and straight-forward, it may not be until a year or more before you know whether you are successful (contrast this with cultivating oyster mushrooms discussed last month, which will mature fully in a month or less from the time you assemble the mushroom log).
Below are instructions on how to cultivate wine cap mushrooms at home.
Materials List:
1. Large piece of corrugated cardboard (e.g. from a shipping box or grab several boxes from a warehouse store);
2. A large basin, clean garbage can, or plastic tote with which to hold water to soak the cardboard;
3. Wood chips (can be obtained from local arborist looking to dispose of his/her tree waste);
4. Wine cap mushroom spawn (can be purchased on-line); and
5. 1 to 2 plastic kitchen trash bags.
Directions:
Creating Cardboard Spawn
Step 1: Soak cardboard for 30 minutes until the cardboard layers separate easily to reveal the corrugated layer.
Step 2: Shake off excess water from cardboard. Cardboard should be damp, but not dripping wet. Separate cardboard by tearing back top layer to reveal the corrugated layer.
Step 3: Sprinkle and distribute the spawn all over the cardboard until a uniform, thin layer forms.
Step 4: Roll up the cardboard at the short-end so that it resembles a scroll. Note that the moisture level in the cardboard is similar to a wrung-out sponge or something close to it. Place the rolled-up inoculated cardboard into a kitchen trash bag, keeping the bag open so that the inoculated cardboard can breathe.
Step 5: Leave the plastic bag containing the rolled-up cardboard in a warm place (i.e., room temperature), out of direct light. Check every couple of days to see whether your cardboard is still sufficiently moist (moisture will evaporate over time). If the cardboard has dried out some, just spray some water on it, enough to keep it moist.
Step 6: After 2 weeks, the cardboard should be fully colonized. You can tell by unrolling the “scroll” and examining the cardboard for white mycelium threads, which form various spider web-like patterns. When it is fully colonized, transplant it outdoors in a shady spot by layering it between woodchip layers (directions to follow).
Creating a Woodchip Bed Using Cardboard Spawn
Step 1: Soak wood chips in clean water until thoroughly saturated.
Step 2: Choose a shady place in your garden and rake aside the topsoil in that spot.
Step 3: Set down one layer of your inoculated wet cardboard.
Step 4: Shovel a layer of wood chips 1-2 inches deep on top of the inoculated wet cardboard.
Step 5: Set down another layer of your inoculated wet cardboard on top of the wood chip bed (think of creating lasagna layers, alternating between your inoculated wet cardboard and wood chip layers).
Step 6: Finish the bed by shoveling another layer of wood chips on top of your inoculated wet cardboard.
Step 7: During the course of the year, keep your wood chip bed moist but not overly saturated. Avoid having water pool or puddle in or around the wood chips.
Step 8: Wait the year for results.
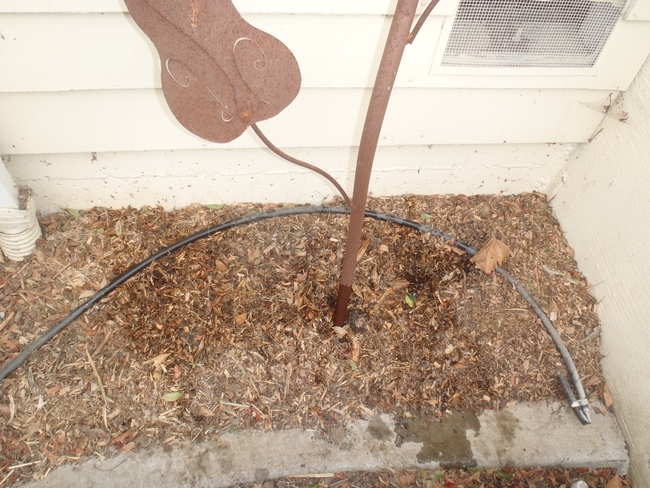
Finished product after assembling "lasagna" consisting of alternating between layers of wood chips and wet cardboard inoculated with mycelium spawn. (photo by Betty Homer)

Posted by Martha Grimson on November 16, 2013 at 6:06 PM