

Posts Tagged: fertilizer
Learning My N-P-K's
I love pouring over seed catalogs and gardening magazines. I greatly enjoy picking my sweet peas and harvesting my chard and lettuce. I relish writing about gardens and sitting at our Master Gardener's table at the Vacaville Farmers Market on a sunny Saturday morning, talking with home gardeners about their plant problems and chatting with fellow Master Gardeners.
What I do not love has been trying to learn the technical side of gardening--the chemistry, the science of what makes it work. I got as far as biology in high school, but became turned off to science at the dissection of that poor frog.
However, as an adult Master Gardener, it is time I looked reality in the eye, planted my feet firmly on my nutrient-poor soil, and learn some science.
I have decided to to start with nitrogen. Why? Because it is the first number listed on fertilizer labels, and I really want to understand what that means.
Researching nitrogen, I discovered it is the 5th most common element in the universe and makes up 78% of the earth's atmosphere. Bringing it down to more useful information for a gardener, nitrogen is an essential nutrient that is a naturally an inert gas which needs to be "fixed"or drawn out of the air and converted to a form usable to a plant. Simply stated, plants without sufficient nitrogen display poor or stopped growth and/or pale green or yellowing leaves due to the fact that they are not able to make sufficient chlorophyll. Therefore, photosynthesis cannot occur.
One can recognize nitrogen deficiency by noticing spindly stems, the pale or yellowing of leaves, especially of the most mature ones, and wilting of sufficiently watered plants, even if the weather is not overly warm. It is good to know which plants are most commonly are effected by nitrogen deficiency so as to keep an eye out. These are fruit trees, vegetable plants, and broad leafed evergreens.
The good news is that gardeners can manage the nitrogen content of their soil several ways. One method is adding organic materials by actually planting crops in the fall or very early spring that fix nitrogen. These would be legumes used as a cover crop, including alfalfa, clover, hairy vetch, or peas, as these plants actually work the bacteria in the soil to absorb nitrogen from the air and place it in the tiny root nodules. This is called "nitrogen fixation". These plants, when mature, are to be chopped up and dug into the soil.
Another material to get nitrogen into the soil is manure from grass eating animals. Let the manure age at least 6 months before using to prevent burning of your plants. Poultry manure is also a good source, but let it air out for 4 months before using. Bone meal is a fast acting fertilize, but can also burn plants. Mix with water or dig it lightly into the soil. Crab meal, feather meal, alfalfa meal, soybean and cottonseed meal are all also recommend. Just be very sure to do a little research, know what your plant needs, and follow directions exactly.
So what does all this have to do with that first number on the fertilizer bag? There are always three numbers, and those numbers simply tell you what the percentage is of each of the three main nutrients found inside the box. The first number is for nitrogen, represented in chemistry by a capital "N". The second number is for phosphorus, represented by a "P", and the third number, represented by a "K" , tells you the percentage of potassium. So if you are wanting a deep green lawn or lush, green kale, you would use a product with a high first number.
So what would be the reasoning for looking for a higher second or third number? To find out, read my blog next month as I explore phosphorus. Meanwhile, work on memorizing N-P-K along with me, and you will be a tad closer to being a real science type.
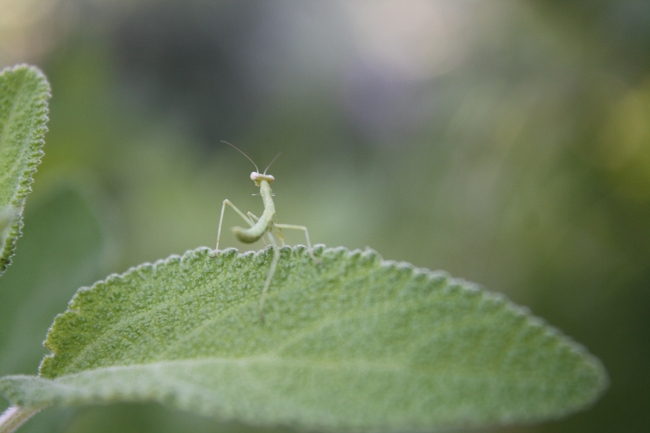
flowers and bugs 6 2011 025
Tips on Having a Happy Rose Garden
Earlier this month, my partner and I jumped into the car and took off to Healdsburg to the Russian River Rose Company, where we arrived just in time for their 10AM talk on “Having a Happy Rose Garden”. This is a rose and iris nursery in the middle of wine country, in Sonoma County’s Dry Creek area, with a view of lush green hills in the background from the recent rains. We had been there a few times before, but each time I always pick up some new piece of information or nuance on rose growing.
Included in the talk was a demonstration of how to plant a rose, most of which I already know the basics. Basically, the hole is dug, about twice the size of the container, and back filled with a half and half mixture of potting soil/compost and soil. On the surface, they use a 6 inch cover of mulch from Sonoma Compost in Petaluma (www.sonomacompost.com), which is free of weed seeds and pathogens due to the high temperatures generated in the composting process, which is something to see in itself.
One of the handouts included “A Year in the Rose Garden”, a month-by-month guideline for gardeners. What was interesting to me is that they plant winter annuals in January interspersed with the roses for early spring color. They choose Calendulas (Calendula officinalis), Johnny Jump Ups (Viola tricolor), and Leucanthemums (L. paludosum) because they are all snail and bug resistant.
They recommend dormant spray (copper sulfate) three times to ward off fungal spores: Once right after pruning, and a second and third when new growth is about one inch and three inches out, respectively.
Fertilizer applications are recommended for March and again in August, to “reawaken” the garden for fall bloom. Included is 2 cups of alfalfa pellets as well as the usual organics dug in around each rose.
They do not use pesticides, but use ladybugs for aphid control. After receiving a shipment, ladybugs are placed in the refrigerator, to slow them down. A few ladybugs from the bag are put out at the base of the rose bush in the evening, which will keep them from flying away. They will then crawl up the branches and stay until all the aphids are gone. Dwarf Scabiosa (S. atropurpurea) is said to be a good haven for ladybugs. They will breed in it.
For irrigation, they use two half gallon per hour emitters 18 inches apart, with the rose shrub in the center, to avoid root rot.
Their instruction for July: “Minimal attention….Leave town”. And for December: “Rest and dream about what roses you would like to add to your garden next year!”
Russian River Rose Company is open to the public every weekend during April and May, so there is still plenty of time to visit their beautiful gardens. For more information, check out their website at www.russian-river-rose.com.

working in garden with kid
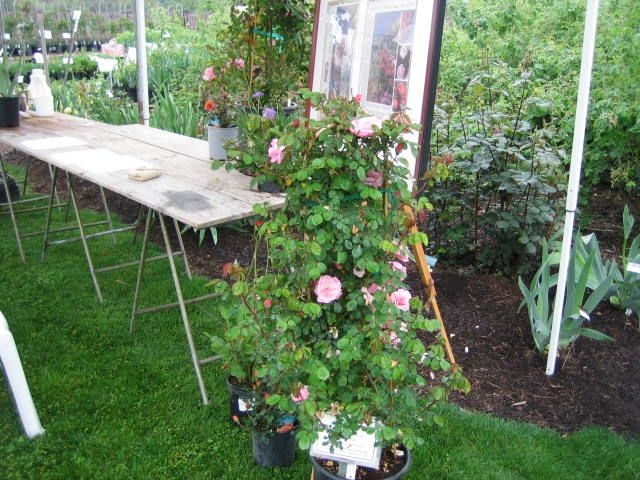
roses in pots
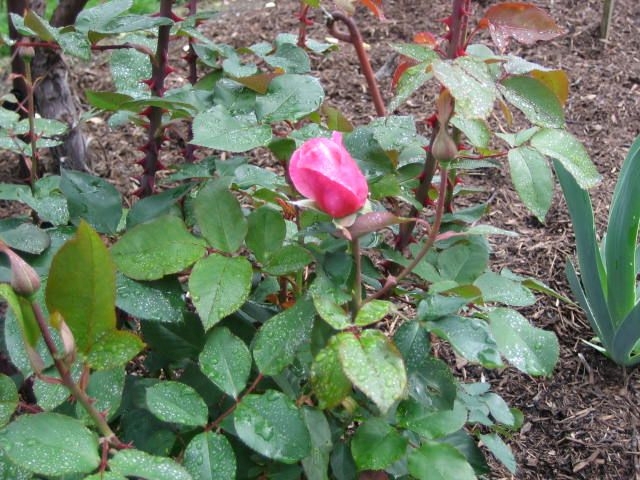
rose bud
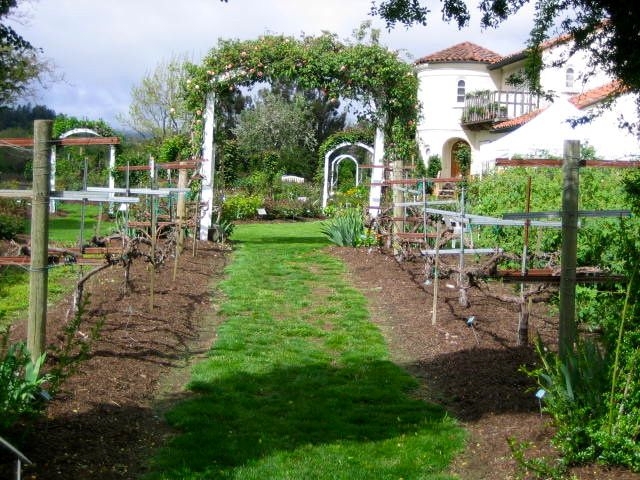
path view of garden villa
More data needed before new fertilizer regulations are imposed
Scientists need more information about how farmers use nitrogen fertilizers before the state imposes new regulations, reported Tim Hearden in Capital Press. Hearden's story was based on a study published in California Agriculture journal.
Nearly 600,000 tons of nitrogen fertilizer is sold in California each year, but sales figures are not an accurate indicator of how it is used.
Imposing regulations without supporting data could fail to address the problem while damaging agriculture, said Tom Tomich, co-author of the study and director of the Agricultural Sustainability Institute at UC Davis.
"One of the other things that's unfortunate about the lack of information is it looks like California farmers have been increasing their nitrogen usage, but if we had better data, farmers would probably look pretty good," Tomich was quoted. "We have a long way to go, just like everyone on the planet. This is one of the biggest challenges facing the 21st century."
See the complete California Agriculture journal article: Nitrogen fertilizer use in California: Assessing the data, trends and a way forward.
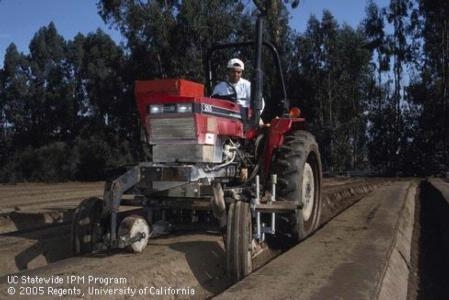
Cutting planting slots and placing preplant fertilizer in a two-row strawberry bed.
Turf Tidbits
March is a great time to rehabilitate your lawn by filling in bare patches with seed. The spring season offers temperatures moderate enough to foster new growth through germination of turf seeds, but it remains cool enough not to stress new grass once it begins growing and allows it time to mature and take root.
The issues to consider before you start your lawn rehabilitation job are to note the type of turf that already exists in your space so that you can get a matching blend, the amount of sun and shade the particular area might get, and the amount of water the area gets so that you get the proper seeds for your needs The materials you will want to have for the tasks are a rake, a shovel, a bag or two of topsoil made from organic matter, high quality turf seed, starter fertilizer, and a hand-watering container.
The first order of business is to isolate the area you are working on from any pets or foot traffic because turf seeds and seedlings are delicate and will be ruined by even light trampling. Secondly, you want to clear the area of any old dead turf or other dead or dying matter covering the ground you are going to work on. Once the area is cleared up and ready, you will want to dig down about 4 to 6 inches and till the soil until it is soft and workable and all of the large clods have been broken up. You will rake the area so that the ground is even with the other areas where grass is already growing and all of the dirt is uniform in size and texture and elevation. Next, generously spread the turf seed in the area you have prepared making sure to slightly overspread seed on the edges as evenly as possible. Finally, you will cover the seed with about an inch of topsoil which will thin out once you add water. You should not be able to see any seeds through the topsoil; at the same time you are not trying to bury the seeds any deeper than just under the surface of the soil. Once all of the topsoil has been uniformly applied and the seeds are completely covered you will very gently water the area trying to apply the watering as delicately as possible to prevent erosion of the work you just did.
You will want to inspect the area twice a day for 2 weeks to make sure that the seeds continue to maintain minimal moisture content. You want to keep the topsoil slightly moist constantly until you notice baby turf emerging. Once the new grass begins to grow you will want to scale the watering back to allow the new turf to establish its roots. A watering balance is needed at this point, you want to water thoroughly and then allow the grass to dry out almost completely before the next application of water. A starter fertilizer should be applied at this time also to encourage mature rooting and growth. You will want to closely consult the directions on the seed packaging to check for varying details. (NOTE: the Master Gardener program does not endorse the Kellogg's or Scott's products, these photos are for demonstration purposes only)
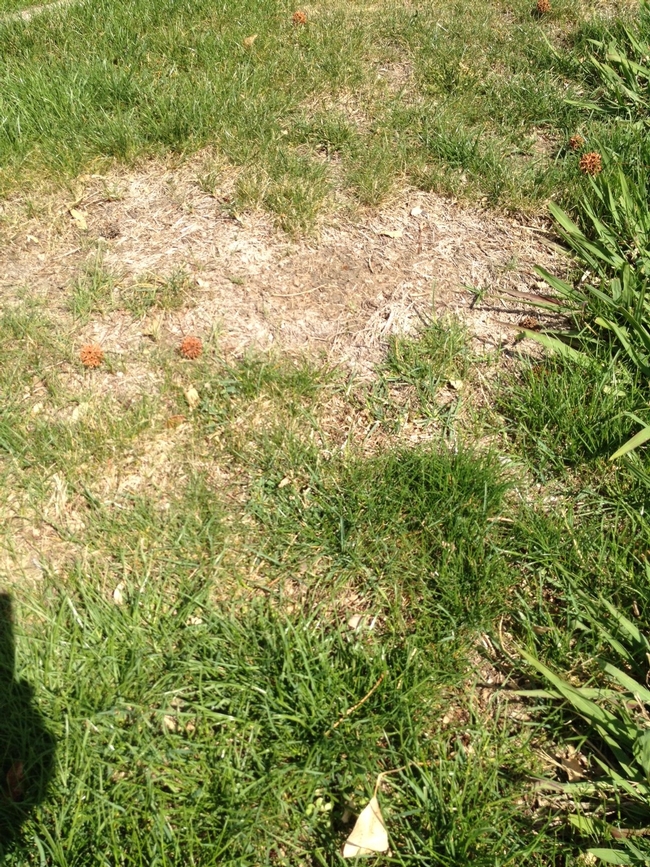
Turf that needs rehab. (photos by Ed Walbolt)

Top soil bag.
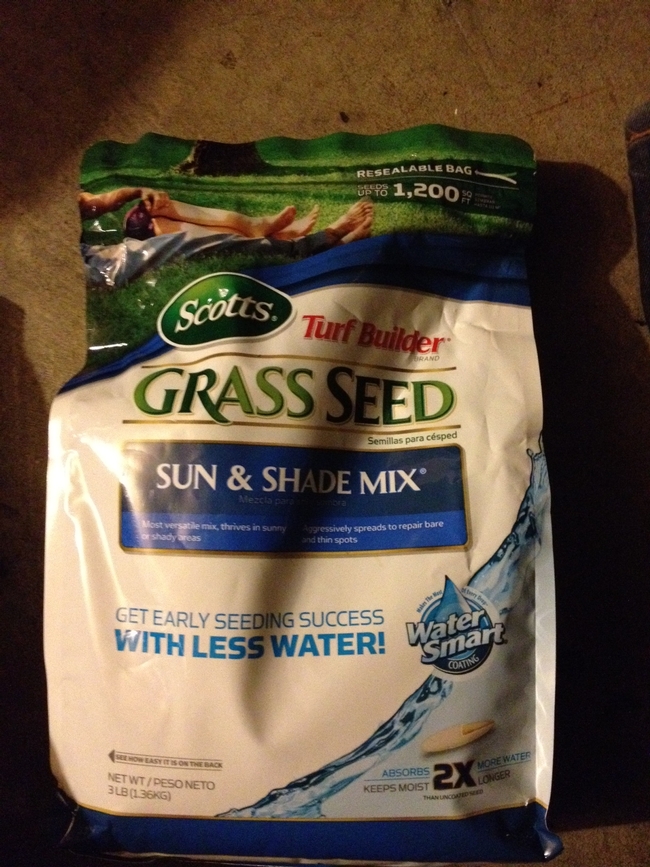
Seed bag.
Oops,I did it again...More Confessions from a Master Gardener
One spring, I had a terrible aphid infestation on my rose bushes. I tried and tried to get rid of them naturally. I sprayed them with water to knock them off. I sprayed soapy water. I tried oils and “all natural” sprays, and powders from the local nursery and specialty mail order catalogues before online shopping became popular. But nothing I did could help to get rid of those darn aphids. I was vastly outnumbered, and I didn’t like it! They called out the cavalry and they were winning this war!
After several exhausting weeks of fighting a battle with aphids, I finally gave up and purchased a chemical spray. I generally don’t use chemicals sprays, but believe me, short of setting the roses on fire – I tried everything natural I could get my hands on! I figure I’m going to get suggestions on alternative methods and products to get rid of aphids. Well, normally they work for me, too but that will have to be another blog…
So years later, I realized that the entire aphid infestation had been my own fault. During fall, I had planted daffodil and tulip bulbs and few scented geraniums in the spaces between the roses. I put bone meal and time release fertilizer when I planted the bulbs. I fertilized the scented geraniums when I planted them. Then in spring, I fertilized the newly sprouting rose bushes, and additional fertilizer on the bulbs and geraniums. With all that fertilizer and nitrogen, the roses burst forth with lots of new growth, tender shoots, buds and foliage! The roses were over-fertilized. All that new growth provided the perfect food and environment for all those hungry little aphids. I had created an aphid’s utopian Shangri-La, no wonder they didn’t want to leave!
No matter how much commercials that try to convince you to that more fertilizer is better, that is simply not the case. Plants that are over-fertilized grow like crazy in early spring. The sudden and fast growth produces too many shoots and leaves causing the overall plant to be weaker plants. Weaker plants can’t fight off bugs and diseases as easily as healthy plants that growing in a more optimal environment. Also, all that extra fertilizer can run off and pollute our local streams, waterways and get into your drinking water, I much more careful and aware about the fertilizer that goes on, in and around all my plants in my garden. I have managed to keep the aphids away from my roses by preventing the problem before it starts.
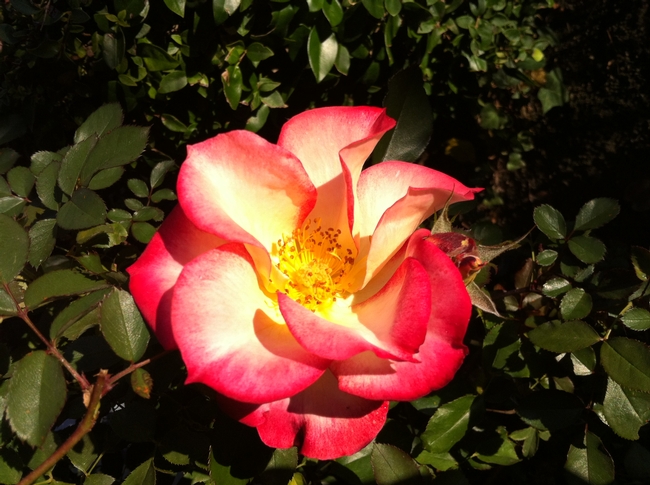
Betty Boop rose. (photos by Esther Blanco)
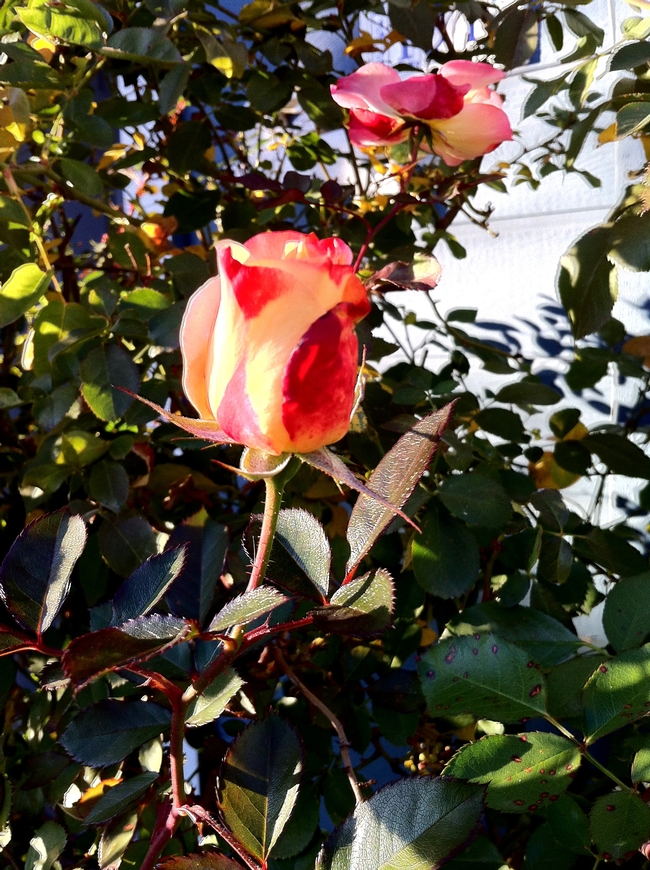
Bud of Betty Boop rose.
